
Today on my blog I would like to share how I organise my notes for my online classes in one notebook. I took a lot of online classes these few months and I do not want to have different books for different classes. I used to jot notes in any notebook or pieces of paper but it gets really disorganised and messy. I have to flip the pages frantically to find information and it really is frustrating if you have a lot of lessons to study for.
I discovered this simple technique when I was updating my bullet journal’s index page. It is basically two / three type of indexing within one book and I really love how organise the information is after. Here is how I did it:
What do you need?
1. Any notebook
2. Main Index Page (leave around 2-3 pages)
3. Numbered pages
4. Trustworthy pen with endless ink flow for note taking
5. Lecture / Class / Module outline
6. Tabs (optional)
I am currently using the Leuchtturm Medium size notebook (dotted) for my note taking. It comes with the Index Page and numbered pages inside. You can use any note book and make your own index page and number the pages. I use a Kikkik Gel Pen to write notes and Steadler Triplus Fineliner Black to draw boxes. You will need your lecture/course modules. If you don’t have these information at hand or it may not seem to apply to you, you can read on and see how you can adopt this simple method to help you organize your note taking.
How does this work?
There will be 2 kinds of index pages in this book; The Main Index page and the Expanded Index Page. The Main Index Page acts like the Content Page for your lectures or modules. The Expanded Index Page is the details of the modules or lessons.
Main Index Page: Contents Page
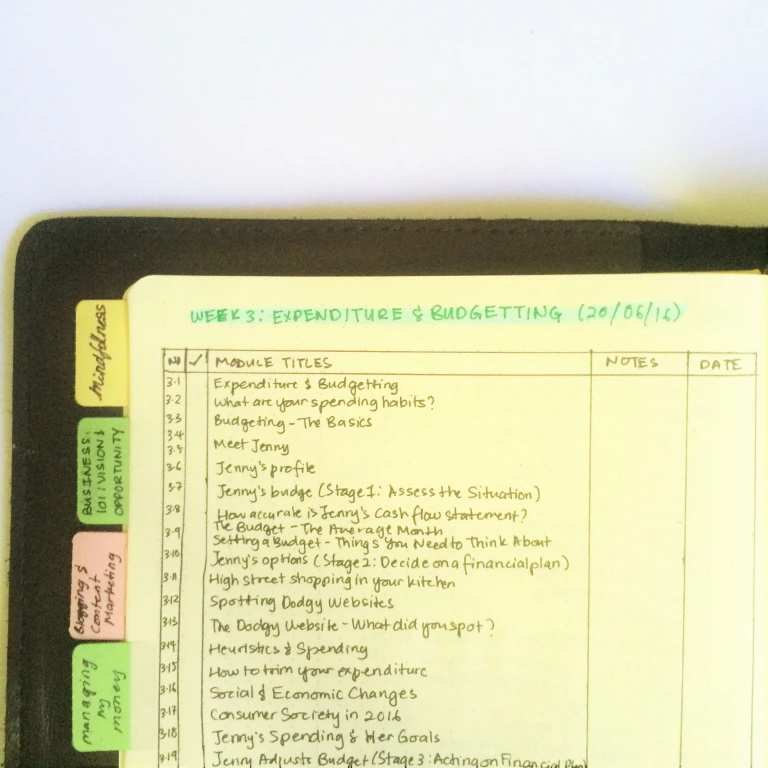
Expanded Index Page: Details of Lessons
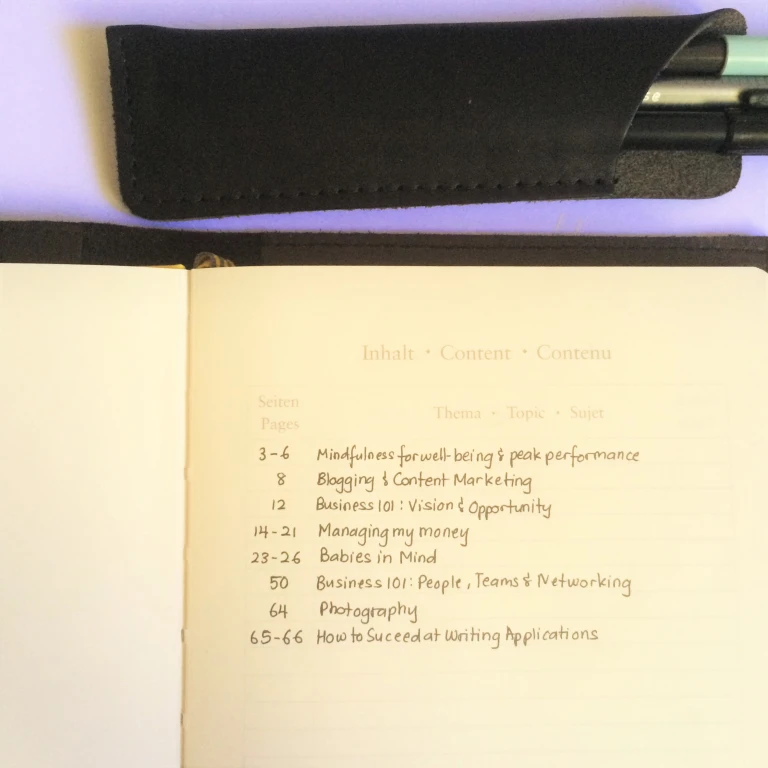
For example, I am taking the Mindfulness course so this title will go on my Main Index Page which is page 3-6. The list of lessons I’m doing will be reflected in the Expanded Index Page. Below photo shows how I organize my lessons. I have columns for Number, Checkbox (Finish revising), Module/Lecture Title, Date and Page Number (this is important). If you have one Module but multiple classes for it (for e.g. Lesson 1, Lesson 2, etc.), you can expand it as well by repeating the Index method.
Even though we can prepare the Index page in advance (at least the modules), we are not able to predict if the notes we take down will be in sequence. The aim of this method is to leave little to no page blank so note taking can be a smooth and spontaneous process. This is why the Page Number is important.
Let’s say for example (not as in photo) my notes for the Introduction to Mindfulness are on pages 5-6 and I have another course going which is the Blogging & Content Marketing. I will not leave any page blank just to write notes for Mindfulness, instead I will write the modules for Blogging on page 7 and notes on page 8. I will then update my Main Index Page with the page that my modules are on and continue writing my notes for Mindfulness on page 9 which will be updated in the Expanded Index Page for Mindfulness lesson (page 3).
Example (how my index pages will look like):
Main Index Page
Page 3 – Mindfulness
Page 7 – Blogging
Expanded Index Page
Page 3 – Mindfulness modules / lessons (Introduction, etc.)
Page 7 – Blogging modules / lessons
Notes
Page 5-6 – Introduction Notes
Page 8 – Blogging
Page 9 – Mindfulness Notes 2
This method organizes your notes and makes it easier to reference. The trick is to record the page number for your notes on your Expanded Index Page for the particular lesson.
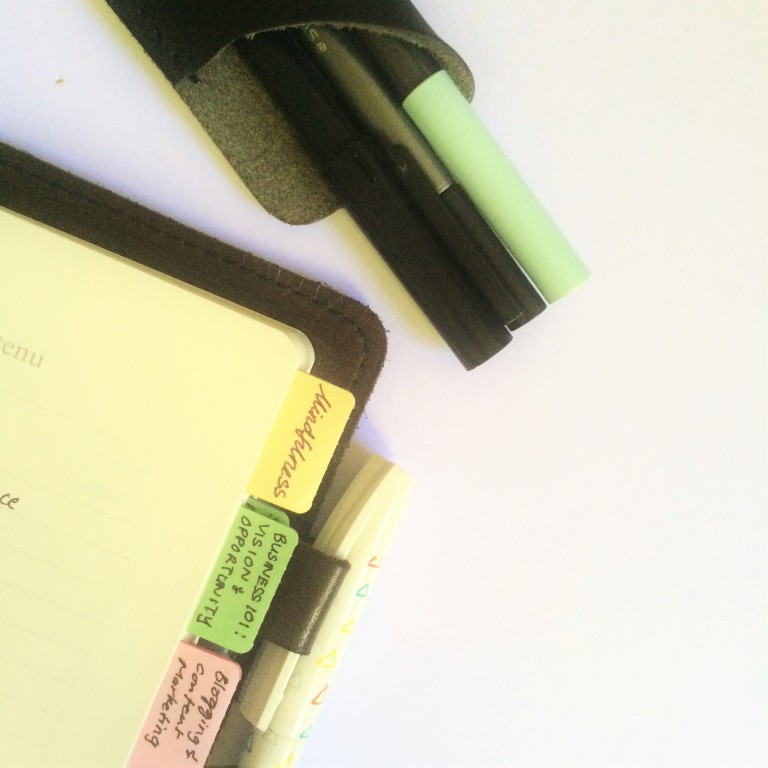
That is it. You are done! You can continue writing your content page for your own notes and utilize the main index page for an overall view of the lessons you have in your notebook. Tabs are optional to mark the Expanded Index Pages for faster referencing as well. It all depends on your personal preference.
The objective of this method is to ensure that note taking is spontaneous and notes referencing a breeze too! You can also use this method to organize your other notes collections and it need not be school related. If you think this will be useful for you (or not), leave me a comment! Thank you for dropping by!
Happy Back-To-School!

Nadia, @paperblushplans
Items used:
- Foxyfix A5 Perfect Bound Inkwell – Click here to sign up for an account
- Leuchtturm Medium Dot Grid Notebook Yellow
- Kikki.K Gel Pen & Steadler Triplus Fineliner Black Pen
Disclaimer: This post is non-sponsored and opinions expressed are of my own. All photos are mine. Please let me know if you would like to use them. Feel free to comment, suggest future posts or ask any questions about this post. Thank you!
Other Places To Find Me:
Instagram – @paperblushplans (planner-related) / @paper.muse (bullet journaling)
Facebook Fan Page – Paper Blush Plans
Twitter – @paperblushplans
Youtube – Nadia Blush

I love your sticky tabs! – I’m debating whether I should put tabs on the side of my Bullet Journal, I just can’t decide!
LikeLike
Thank you! I bought them at a local store. I find that tabs for main and important pages will suffice. It depends on how fast you would like to refer to your information and how many things you like sticking out of your notebook. Good luck with it!
LikeLiked by 1 person
This would also be a good way for writers, fiction or non-fiction, to organize their notes for projects that involve a lot of research. They could set the research up into macro sections and then organize things in other ways like by book, paper, website etc.
LikeLike
That sounds like a really great idea! 👍
LikeLike
Love this – what kind of cover do you have on your journal?
LikeLike
I’m using the Foxyfix Perfect Bound A5 Cover for note taking.
LikeLike